What is the Right Way to Drill Metal?
At first, sight, drilling into metals seems like an easy and painless job. However, the process requires ample preparation and understanding of the forces at work. Contrary to popular opinion, it’s not a routine repair activity.
Drilling metal requires proper equipment and drill bits, and experience of how to use the different tools and to tell when you’re about to get into trouble. If you’re looking for tips on how to drill metal the right way, this post will help you.
You don't need high-end equipment to drill through metal. With the right techniques and drill bits, you can use something as simple as a cordless drill and get excellent results.
Here’s how to go about it:
Step 1: Have the right materials
Step 1: Have the right materials
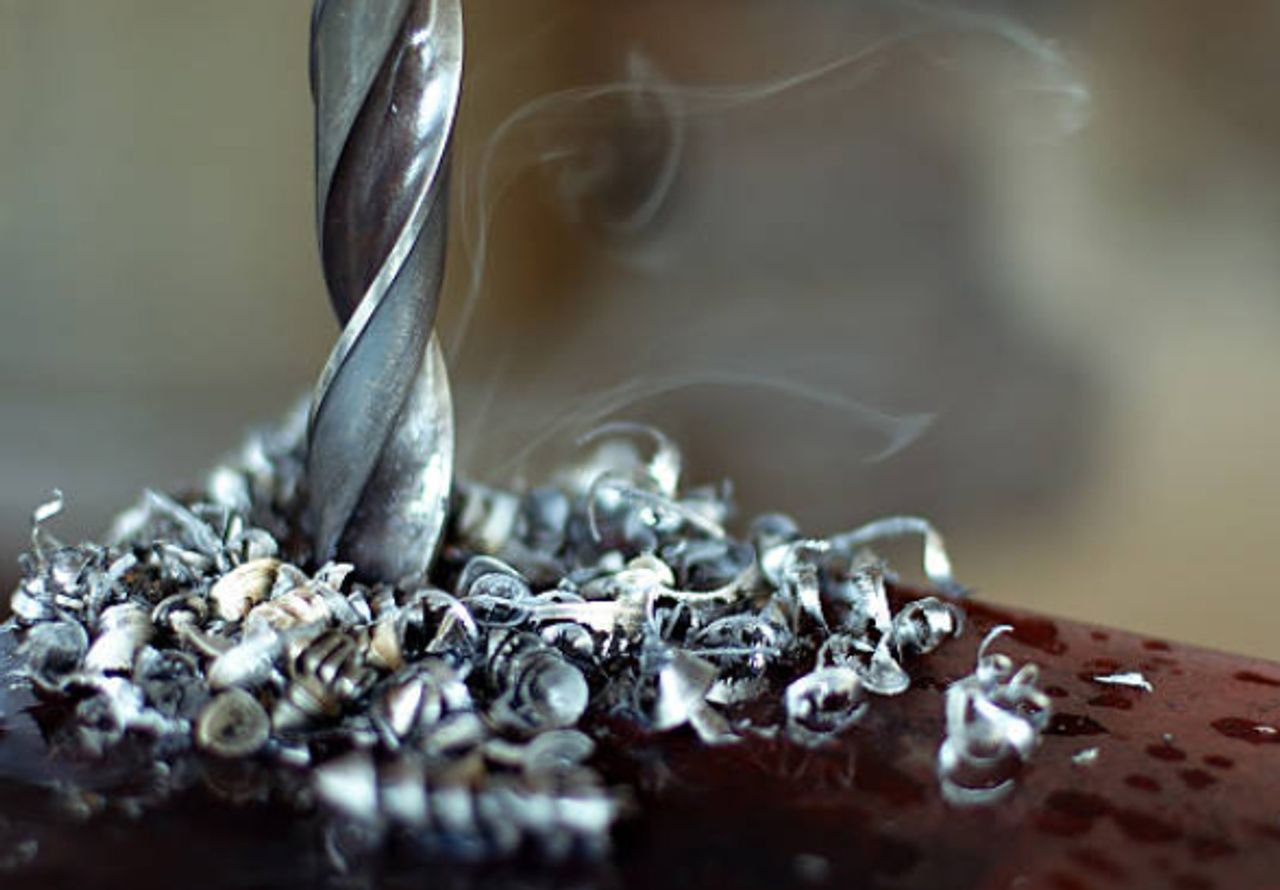
Before you can start, you need to make sure you have the right materials.
Average drill bits will not work on this project. The best drill bits for metal drilling in ascending order in terms of cost are High-Speed Steel (HSS) bits, Black Oxide bits, Cobalt steel bits, and Titanium bits.
For drilling large holes in thin or soft metals, you can use a hole saw which can also be used with a cordless drill.
Step 2: Safety
Step 2: Safety

Drilling metal is a dangerous affair. In addition to the many things that can go wrong, metal drilling produces tiny sharp shavings that can be hazardous to your skin and the eyes. Before you start working, wear the proper safety gear, including safety goggles and heavy leather gloves.
Make sure your work is tightly clamped. Sometimes the bits can grab the metal, transferring the spinning force to the workpiece. A clamp can help to stop everything from spinning out of control.
Step 3: Make a sacrificial sandwich
Step 3: Make a sacrificial sandwich
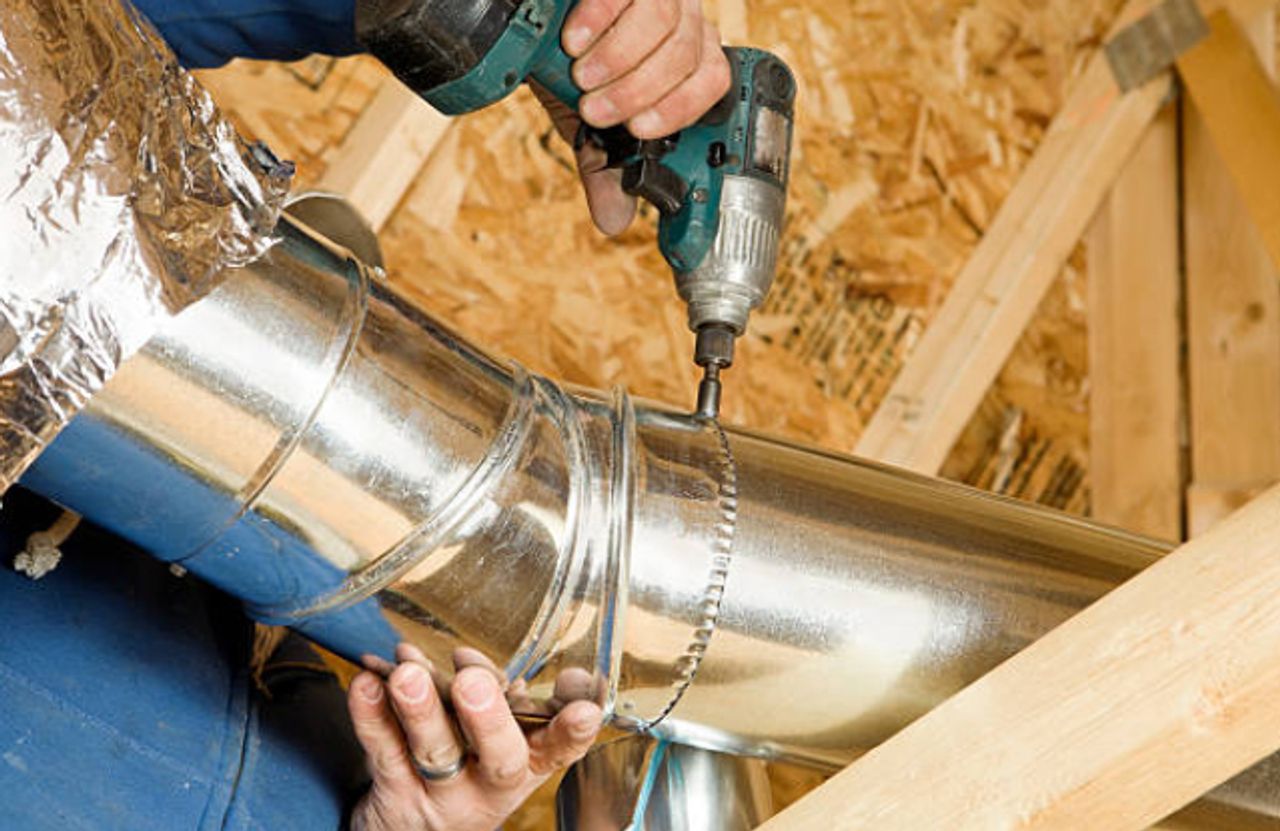
Sacrificial sandwiches are both a safety measure, and they also help you make a clean whole. These sandwiches are particularly helpful when dealing with thin metal sheets.
The sandwich involves a piece of wood on top and under the metallic piece. It helps to guide the drill bit into the metallic piece and controls the trajectory of the shavings.
Step 4: The pilot hole
Step 4: The pilot hole
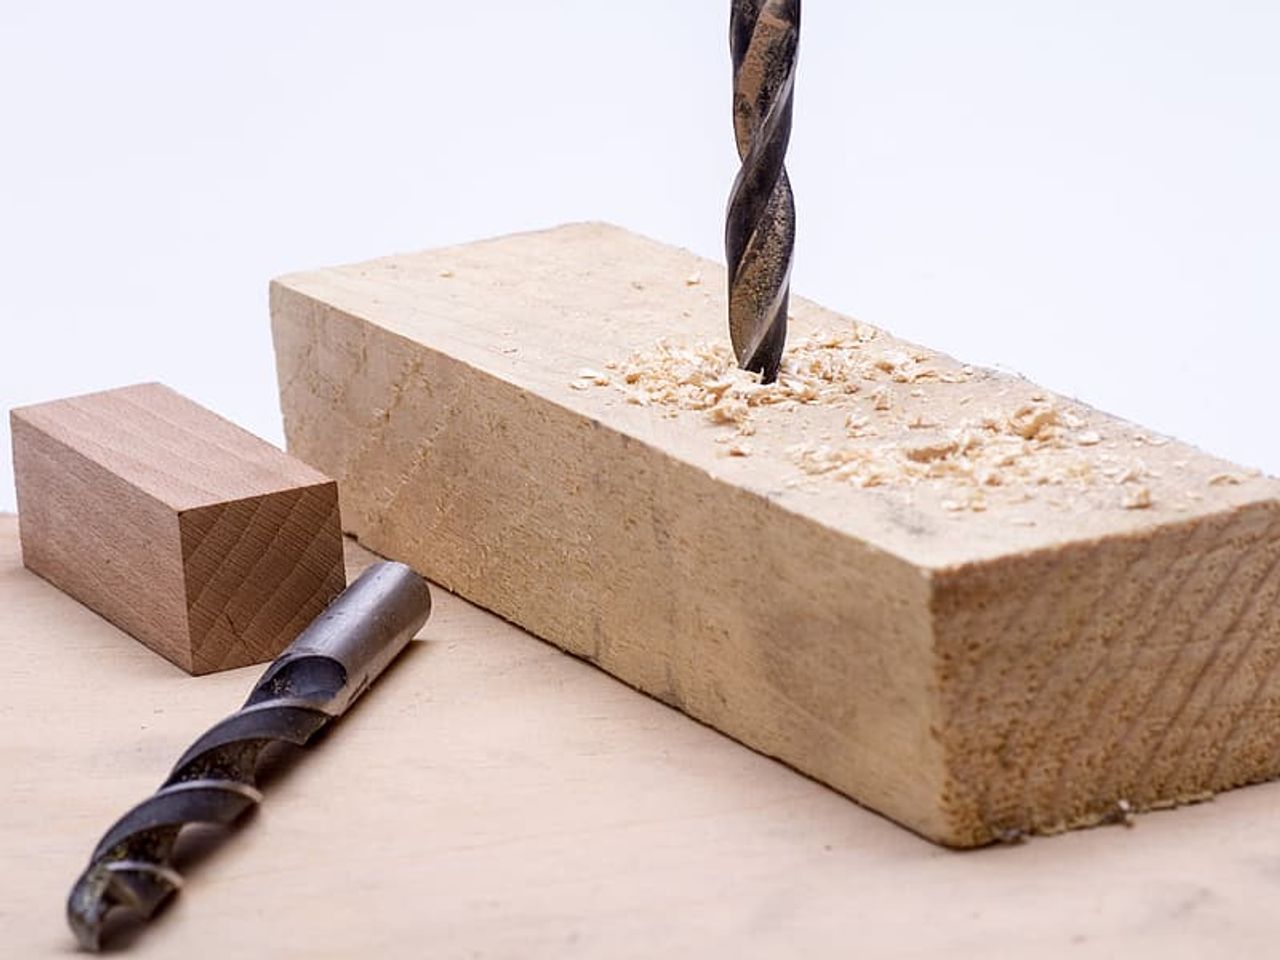
Without a pilot hole, your drill bits will wander off as soon as you start drilling. You can use a nail and a hammer to make a dimple on the metal surface to keep the drill bit in place, and it also ensures you get a clean hole through the metal.
Step 5: Lubricate and cool
Step 5: Lubricate and cool

Drilling metals creates a lot of friction and heat. The heat not only damages the drill bits but can also damage the piece you’re working on. To cool the bits, you can take breaks to allow the bit to cool down if you’re working on small projects.
If the project involves hard metals, large diameters, or deep holes, use special drilling or cutting oil to assist in the process. You can also use motor oil or WD-40 to cool and lubricate the bit.
For extra safety, make sure you keep the speeds and pressure low. For most drills, you only need about half the speed.
Step 6: Stop if you notice smoke
Step 6: Stop if you notice smoke
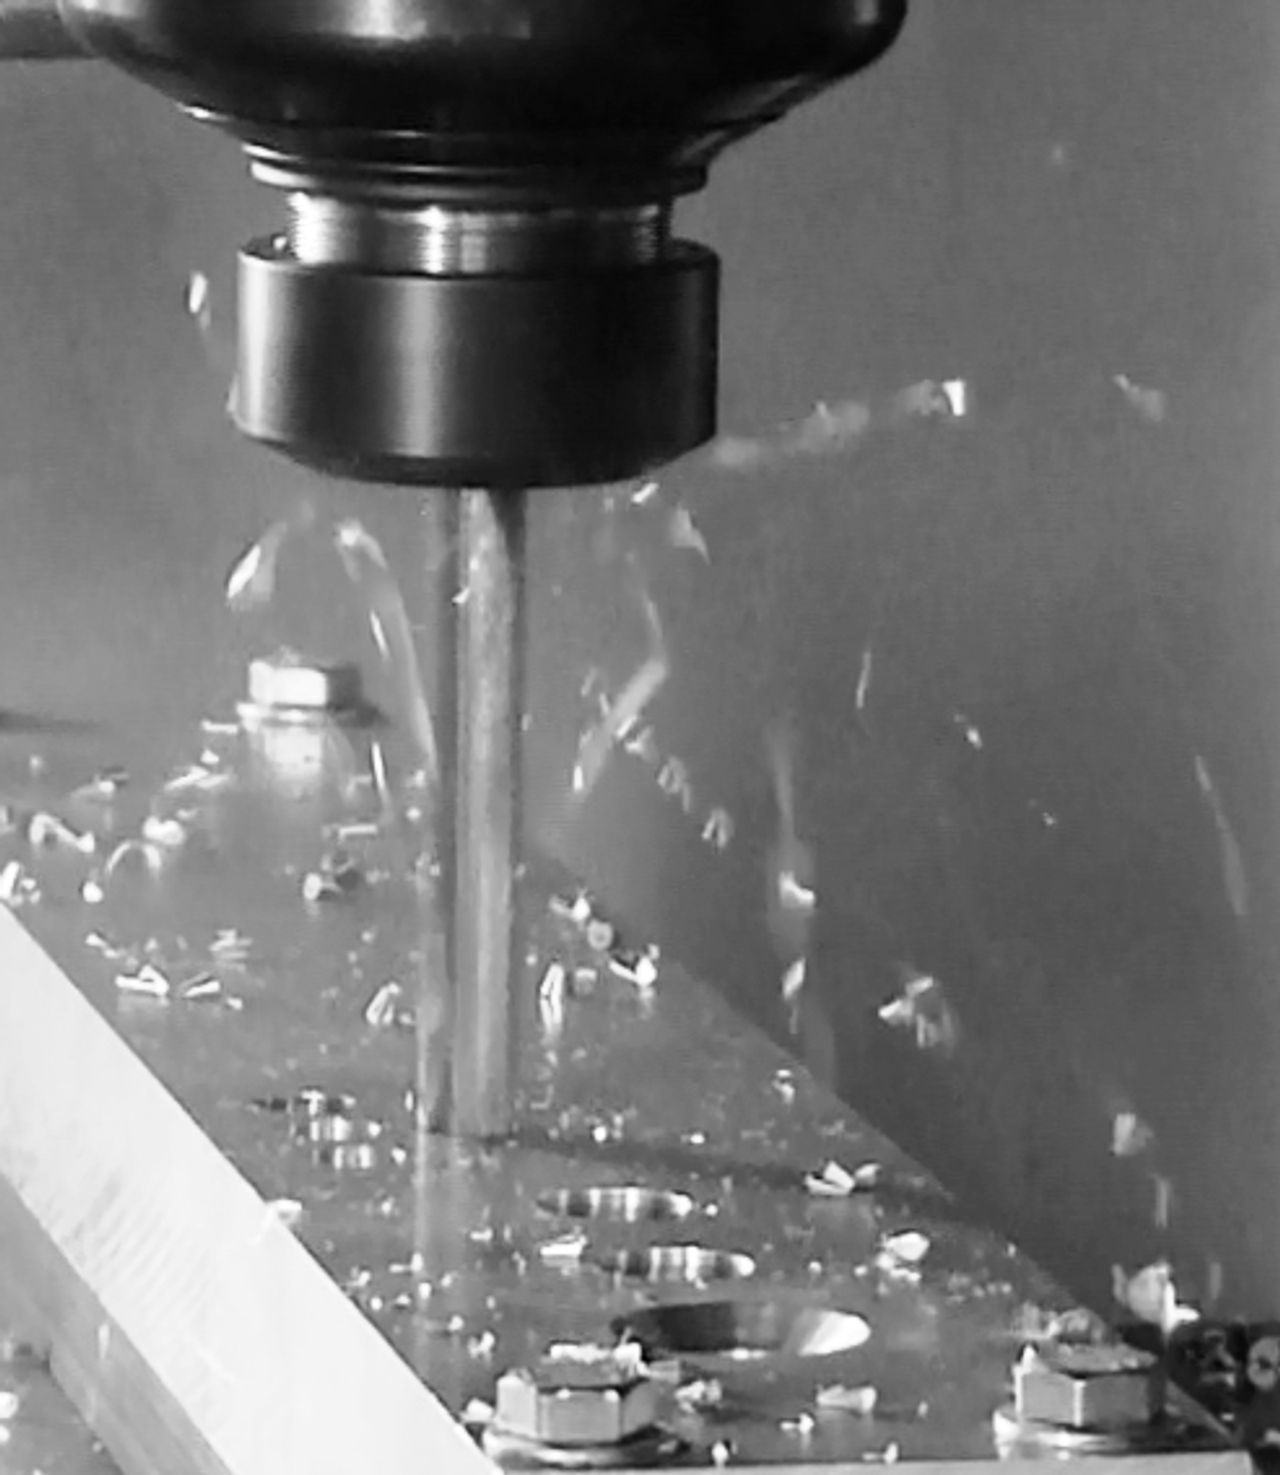
Smoke is a sign that you're drilling too fast, which is producing too much heat. As soon as you notice the smoke, stop drilling.
Give the bits sometime to cool down, add some oil, then start again at a slower speed and keep observing the progress.
Step 7: Deburring
Step 7: Deburring
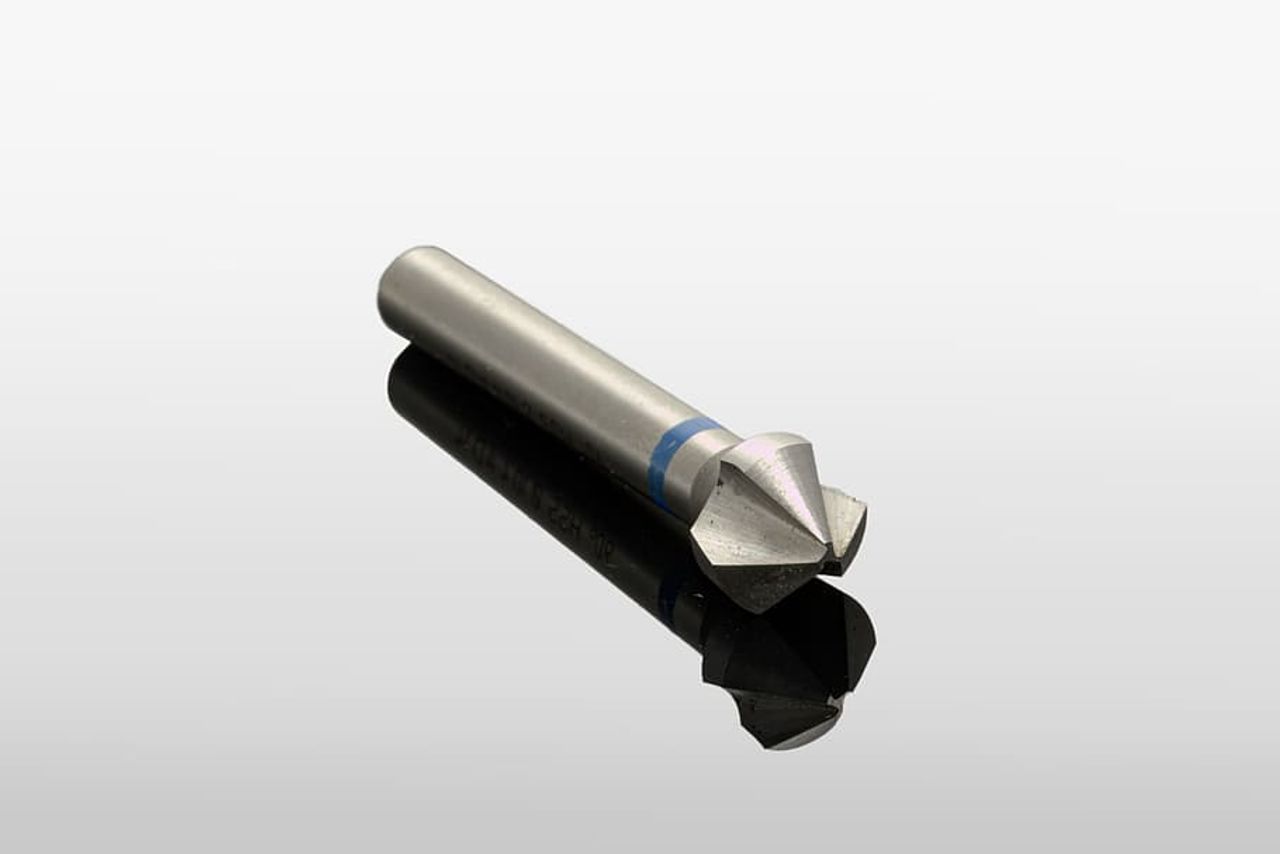
Drilling produces burrs. These are unsightly and dangerous pieces that produce rough edges. You can smoothen them out by filing or using a countersink after drilling.
Can’t find the right material for your project? We have a large selection of angle sections, flat bars, and stainless steel sheets, among other products available to you can consider for your project.


