How to Drill Stainless Steel
Stainless steel is best known for its strength and ability to withstand corrosion. These properties quickly become the greatest foes when drilling stainless steel. Unlike most materials, this hardens when heated and without accurate information, trying to drill stainless steel can be frustrating and often ends in extensive damage to tools.
Choosing the Right Drill Bit
Choosing the Right Drill Bit

Your best chance at successfully drilling stainless steel lies with choosing the right drill bits. Although there are different types of reamers and drill bits that are suitable for drilling stainless steel, going for the best will improve your chances of getting good results and ease the process.
High-Speed steel drill bits – This type of bits are specifically designed for drilling stainless steel. The best HSS drill bits to use for this application are those with a Titanium Nitride tip to help reduce friction and heat.
Cobalt drill bits – Cobalt drill bits are designed to work on high tensile and heavy-duty performance metals. Using cobalt as an alloy increases the strength of the parent metal and boosts its heat resistance properties, both of which are vital when drilling stainless steel.
With the right drill bits, an average metal work drill should get the job done. But before you get started, it's crucial to observe the correct safety measures, including eyewear. With the intense pressure and heat involved in the process, it's easy for the drill bits to snap.
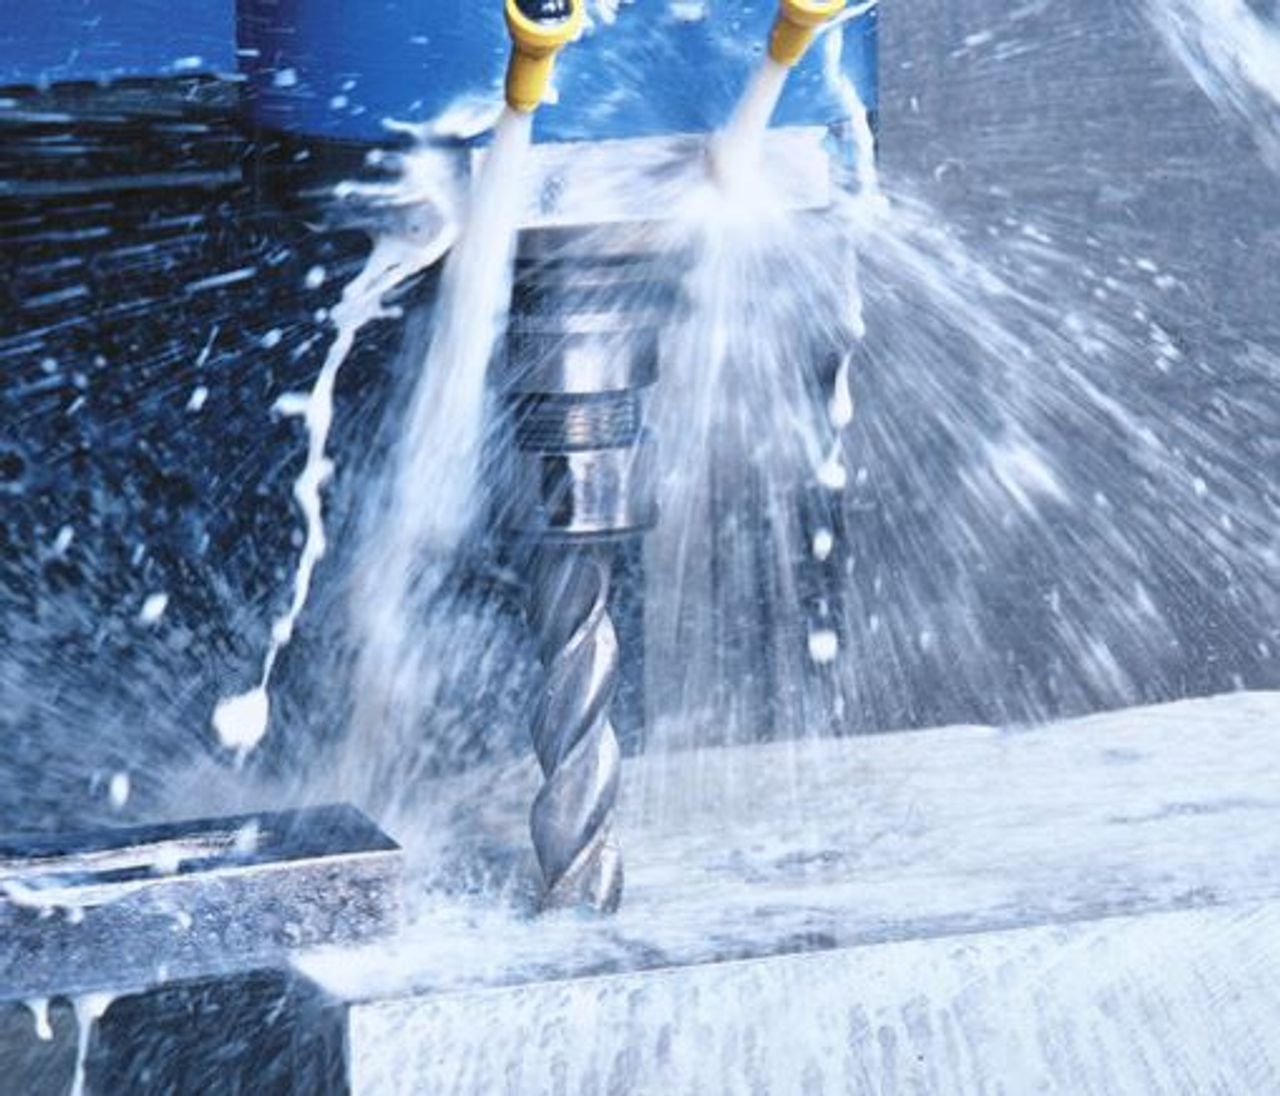
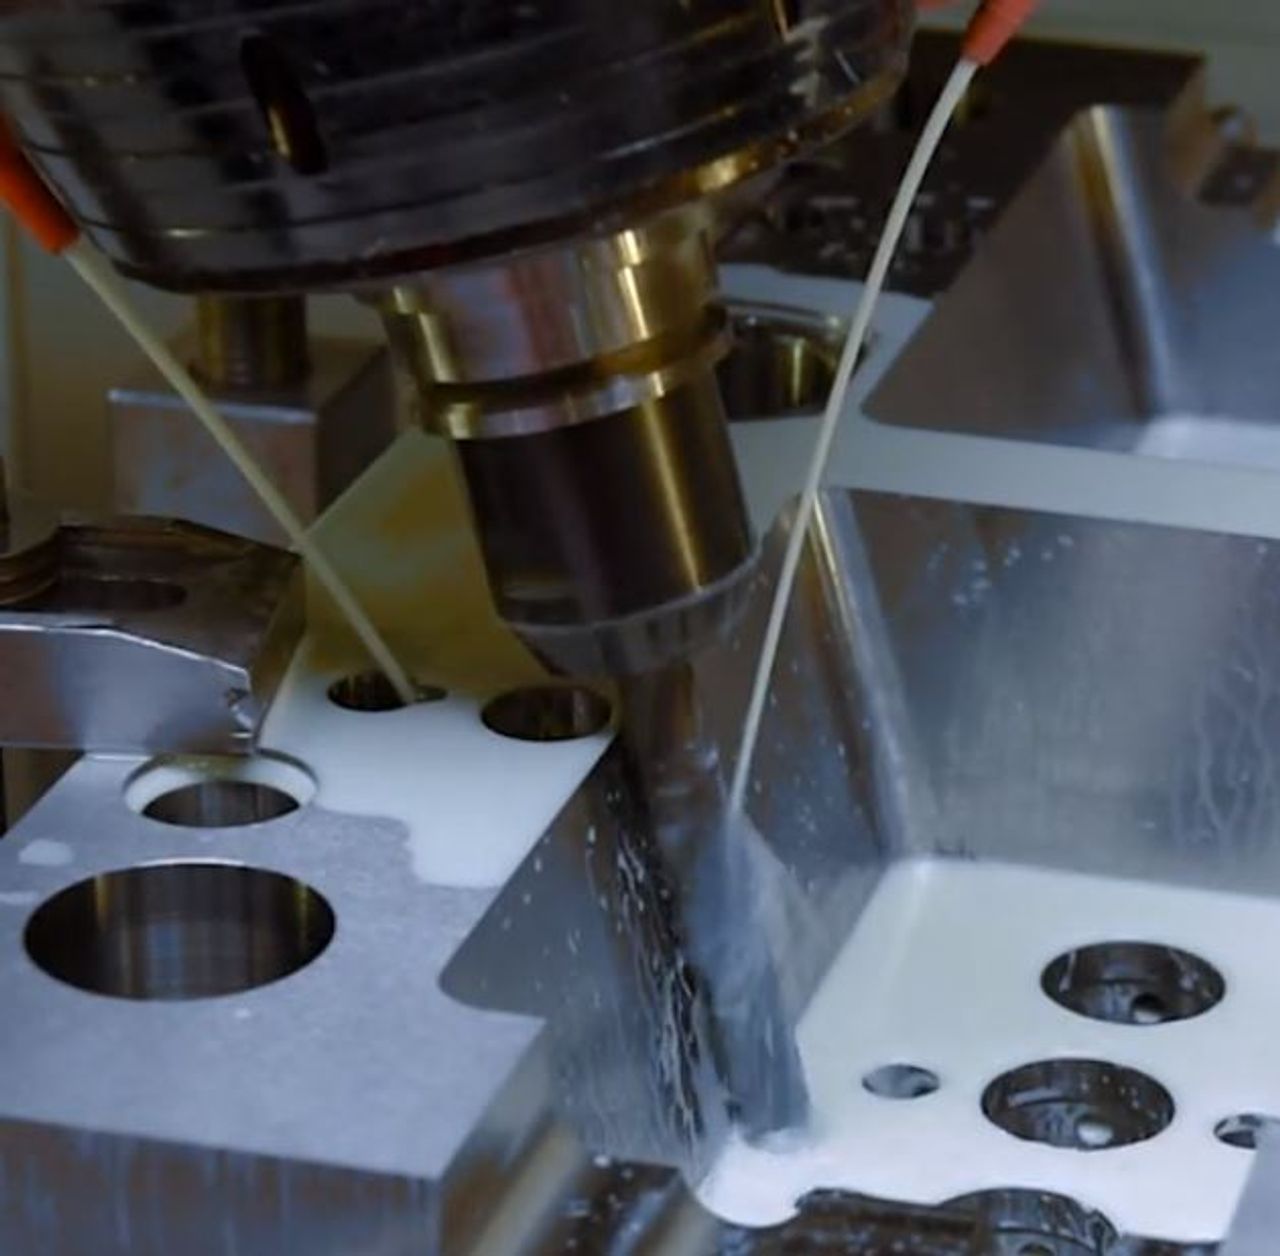
You will also need coolant for heat management, both on the metal surface as well as the drill bits and some tools for chip evacuation.
Managing Deflection
When working with metals, deflection is a real challenge, especially for a metal with a high tensile strength like stainless steel.
One of the best ways to keep the tools from deflecting on contact is by using a pilot hole. The pilot hole is essential for deep drills to ensure the stability of the drill bit and accuracy.
The Drill Speed
Once you have all the tools you need to start drilling, including the pilot hole (where required), it's time to get started. It's always a good idea to have the metal firmly clamped to the working table to reduce movement and deflection.
The first parameter you will need to configure is the speed of the drill. If the drill speed is too low, the drill bit will rub on the surface of the material, eventually creating a work-handed zone, resulting in drill failure.
If the drill speed is too fast, it will generate too much heat. This will also lead to the failure of the drill. Identifying the right feed control is going to be critical, particularly in breaking the chip. Ensure the speed is high enough for the cutting edge to enter into the workpiece.
Reducing Work Hardening
Once you start drilling, you will quickly run into work hardening. This will increase the wear and tear of your drill bits and the time it takes to complete the drilling. The best way to manage work hardening is through patience and a few handy tips.
As you drill, keep the drill bit cool and well lubricated. A cutting and tapping fluid should help to reduce friction and keep things moving along. If you have the setup, it’s best to keep a constant supply of coolant and lubricant to the workpiece and bit throughout the drilling operation. If not, you can stop to apply the fluid.
For deep drills, the workpiece can be annealed before drilling to soften the material and improve machinability. It will help reduce the risk of work hardening.
If you use a conical punch to mark the positions of the holes to be drilled, you could increase the chances of work hardening. Instead, use a 3-corner pyramid punch to reduce this risk.
The easiest way to tell if the speed, feed and temperature of the drill are within parameters is to check the swarf. They should be helix-shaped with the same colour as the workpiece or with a slight yellow tint.


